Are you excited to kick back and enjoy a wide range of TV channels with a satellite TV system? Setting up your own satellite TV system can seem daunting, but fear not! You’ll be on your way to enjoying the variety of satellite TV in the comfort of your own home with the right tools and these simple instructions. Let’s get this party started!
Step 1. Choose the Right Satellite TV Provider
The first step is to buy satellite TV equipment and service from a reliable provider. Before making a decision, do some online research, read reviews, and seek advice from friends and relatives. Look for businesses that provide a wide range of channels, reasonable bundles, and exceptional customer service.
Step 2. Choose a Satellite Dish and Receiver
After you’ve decided on a service, you’ll need to choose a satellite dish and receiver. Most companies supply everything you need to get started but double-check to make sure there aren’t any hidden charges or rental fees.
Step 3. Install the Satellite Dish
You should install your satellite dish in a location with an unobstructed view of the sky, like your rooftop or a cleared-out area in your backyard.
Start by putting the dish together according to the manufacturer’s instructions. Mount the dish securely using a sturdy pole or bracket. Ensure the dish is aligned correctly, pointing toward the satellite in the sky. If you’re unsure about the alignment, your provider may offer assistance or provide a technician to help with the installation.
Step 4. Connect the Cables
Once your satellite dish is securely in place, it’s time to connect the cables. Locate the coaxial cable provided by your provider and connect one end to the satellite dish’s LNB (Low-Noise Block) output. The other end of the line should be connected to the input on the back of your satellite receiver. Make sure the connections are tight to avoid any signal loss.
Step 5. Set Up the Satellite Receiver
Now it’s time to connect the satellite and your TV. Make sure you have the right cables (e.g., HDMI, RCA, etc.) and connect them from the satellite receiver’s output to the input on the back of your TV. Then plug in the receiver’s power cord and turn on both the receiver and your TV.
Follow the on-screen instructions to complete the initial setup, which may involve language selection, channel scanning, and activating your service.
Step 6. Activate Your Satellite TV Service
You may need to contact your provider and give them the necessary information to activate your satellite TV service, such as your account details and the receiver’s serial number. They will guide you through the activation process, which may involve verifying your subscription and confirming your chosen channels and packages.
Step 7. Fine-Tune Your Satellite Signal
You’ll want to make sure you have the best possible signal quality once your service is activated. Use the signal strength meter on your receiver to adjust the dish’s position slightly, if needed. Monitor the signal strength on your TV screen and make small adjustments until you achieve optimal reception. Remember, a clear line of sight to the satellite is crucial for uninterrupted viewing.
Step 8. Enjoy Your Satellite TV!
Congratulations! You’ve successfully set up your satellite TV system. Now it’s time to explore the wide variety of channels and take advantage of any additional features offered by your provider, such as On-Demand programming or DVR capabilities.
Step 9: Service and Maintenance
If you’re having issues during the setup process, don’t wait until anger, frustration, or the breaking of things kicks in – reach out to your satellite TV provider’s customer service department. They’re there to help guide you through any troubleshooting steps.
It’s worth mentioning that maintaining your satellite TV system requires occasional maintenance. Over time, weather conditions and other factors may affect the signal quality. If you notice any issues with your reception, such as pixelation or signal loss, check the dish alignment and ensure there are no obstructions blocking the signal path.
It’s also a good idea to keep your satellite dish and receiver clean and free from dust and debris by wiping them down regularly with a soft cloth to maintain their optimal performance.
In Conclusion
Setting up your satellite TV system can be a straightforward process when you follow these step-by-step guidelines. Choose a reliable provider, install the dish correctly, connect the cables securely, set up the receiver, activate your service, fine-tune the signal, and enjoy a vast selection of TV channels at your fingertips.
Remember to explore the various features and additional services offered by your provider, such as DVR recording, streaming options, and On-Demand programming.
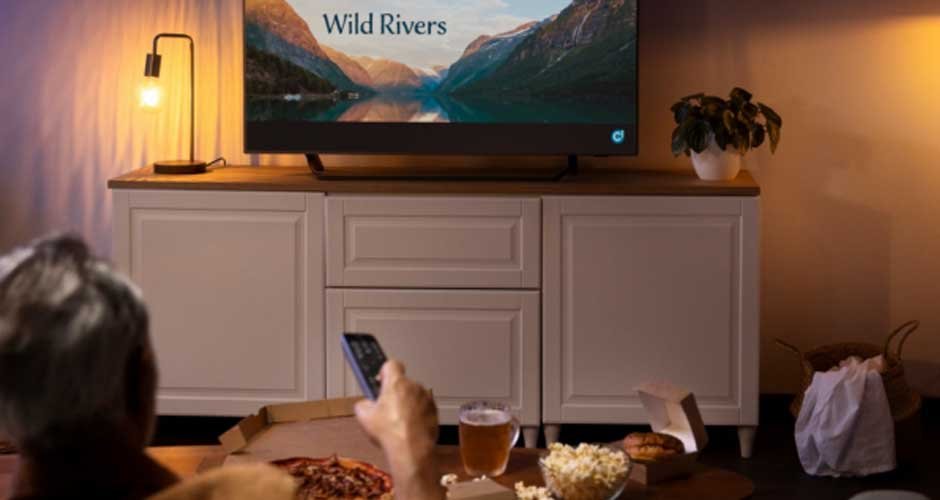
Then, grab your popcorn, settle into your favourite spot on the couch, and get ready to embark on an exciting television journey with your newly set-up satellite TV system. Happy watching!