Have you ever found yourself in a situation where you needed first aid tips quickly?
Creating a first-aid pocket card can be a lifesaver! This guide will show you how to make a compact, easy-to-carry card that holds all the essential first-aid information you might need in an emergency. Keeping this handy card with you can provide peace of mind and potentially help in critical situations.
Follow these simple steps to create your first-aid pocket card today!
Gather Your Materials
To start your first-aid pocket card, the first thing you need is the right materials. Grab a sturdy piece of cardstock that can fit easily into your wallet, pocket, or backpack. This cardstock will be the base of your pocket card.
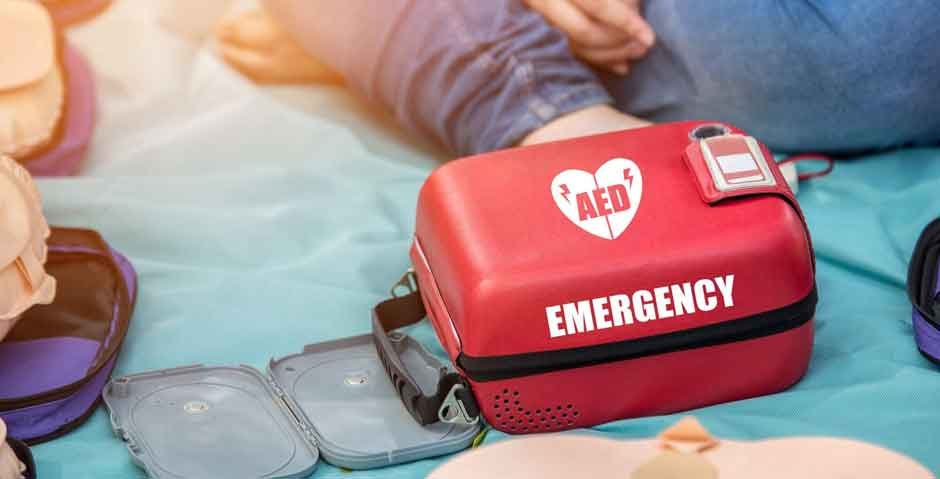
Next, find a fine-tip marker or pen to write clearly and legibly. You’ll also need a list of first aid essentials. This includes emergency contact numbers, basic first aid steps for cuts and burns, and CPR instructions. Make sure you have everything you need before moving to the next step.
Decide What to Include
Now that you have your materials ready, it’s time to decide what information to put on your first-aid pocket card. Think about emergency preparedness. Essential details include your name, emergency contact numbers, and a brief list of allergies or medical conditions.
For first aid instructions, focus on simple, clear steps for treating common injuries like cuts, burns, sprains, and choking. Remember, the goal is to keep it concise yet informative. Ensure the info can help someone act swiftly and effectively in an emergency. This step is crucial for making your pocket card a valuable tool in urgent situations.
Write It Down
Use your fine-tip marker or pen to make the text clear and easy to read. Start with your personal information at the top of the card. Then, list the emergency contact numbers.
Underneath, write down the first aid steps for different situations like cuts, burns, sprains, and choking. Keep your sentences short and the instructions straightforward. Drawing simple icons or symbols next to each section can make the information even easier to understand at a glance.
Make It Durable
Next, you need to protect your first-aid pocket card from wear and tear. To do this, cover your card with clear packing tape on both sides. This makes it waterproof and tear-resistant.
If you have access to a laminator, that’s even better. Laminating your card will keep it safe from water damage and ensure it lasts a long time. This step is crucial for keeping your card in good condition, no matter where you carry it.
Keep It Updated
Health information, emergency contacts, and first aid guidelines can change. Make sure your card reflects the most current information. Set a reminder for yourself to review the card every few months.
Use a resource like MyCPR NOW to stay on top of the latest first aid measures. This will ensure that your card remains a reliable source of information in any emergency.
Create Your First Aid Pocket Card Today
Having a first aid pocket card is a simple yet powerful way to be ready for emergencies. This little card, easy to carry and use, can provide crucial help when it’s needed most.
By following the steps in this guide, you can make and maintain your pocket card, ensuring you’re always prepared. Don’t forget that safety is something we carry with us, and your pocket card is a key part of that.
For more helpful blog posts like this one, visit the rest of our site!