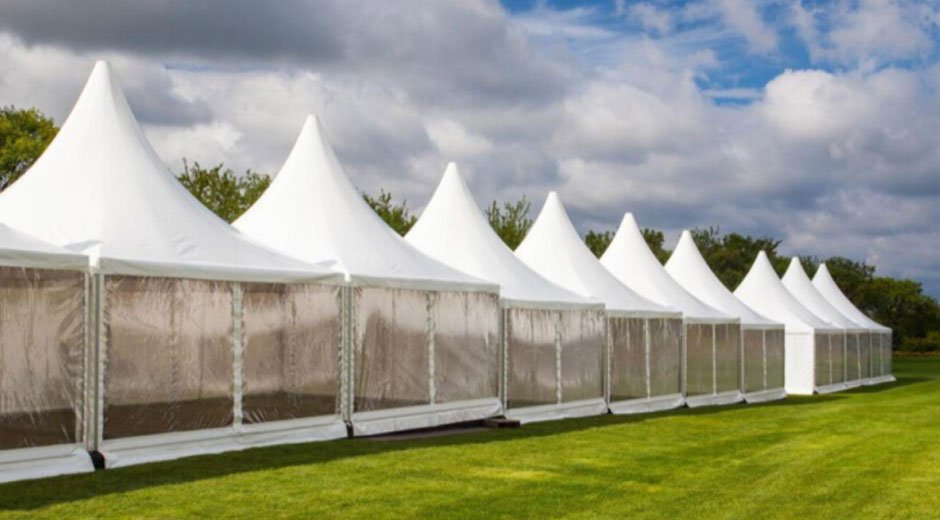
Setting up an event tent at a business trade show is an art as well as a logistical one. Be it a standard model, a used model, or a custom tent, erecting a tent is not just about putting up a canopy—it is about planning, branding, and temporal coordination to make sure that such an exhibition booth is not simply working but aesthetically appealing and able to meet the goals of the event in the first place. Proper brevity in coordination will incalculably assist with getting attendees to use the booth and, at the very least, have a clean, professional meeting place of their own.
Step-by-Step Guide to Setting Up an Event Tent
When getting ready for a trade show, the brand’s perception depends on how the experience is set up. If you have a clear plan that wraps around a strategy, you can ensure that your tent will be functional, beautiful, and memorable.

- Unpacking and Organizing the Equipment
It is important to first unpack and inspect all materials before proceeding with assembly. This includes the tent poles, canopy, fasteners, display materials, furniture, lighting materials, and promotional materials. If you’ve purchased custom canopies, confirm that transit did not crease or damage any of the printed graphics. You may also want to categorize your items into buckets that make sense to you (for example: structural, branding, accessories, etc.) to save time in the assembly process and reduce confusion at the last minute. This step will also allow you a first chance to inspect the goods and make sure that all components are intact and in good condition. Missing or broken pieces can lead to delays and confusion, and may even detract from the overall presentation of your event.
- Assembling the Tent Structure
A stable and assembled tent is a key component of a successful booth. Start by laying out the frame parts in the form in which they need to be put together, following the manufacturer’s directions for the specific model. After assembling large trade show tents, you will likely need multiple people to lift the frame to avoid bending or damaging the parts. Next, you will want to carefully fit the canopy cover on the frame. Make sure the cover is stretched tightly over the frame and secured, as a loose canopy looks unprofessional and is more likely to have problems in windy or changing weather conditions. To provide better stability in this instance, the canopy will need to be as taut as possible. In some locations, weight bags or ground anchors are required, so it may be a good idea to put these on before moving on.
- Installing Branding Elements
Once you set up the structural element of the display, you complete the last phase for the exhibit—branding. Branded walls, banners, feather flags, and table covers can create a seamless look. If the exhibitor has any panels that also have branding or signage, placement is important; logos and taglines should be visible from various angles. Trade show attendees are typically making split-second decisions about which exhibit booth(s) they will go to, so being bold with branding helps them make that quick decision about where to go. The light is also important at this point; whether that be spotlights, string lights, LED fixtures, and so on, light makes a difference. Lighting can improve overall visibility of the display and signage; this is particularly true if the hall is large or dimly lit.
- Arranging the Booth Interior
The interior layout influences traffic flow and attendee interaction. Depending on the size of the tent (and the size of your organizational furniture—counters, product displays, seating), try different layouts to facilitate discussion while creating open pathways. Clutter is distracting; try to remove boxes and items that you are not using, and keep the area organized. Your organization of the space shows professionalism and creates a good impression. If you are exhibiting products, using categories or themes will make it easier for attendees to understand your options. In an interactive context, placing demonstration areas where they are visible from the aisle can help attract passersby and encourage engagement.
- Conducting a Final Check and Test Run
Before the opening of the event, a full inspection is essential to ensure everything’s in place and working properly. You should inspect the build, ensure brand elements are secured, and test the electronics, such as screens and lighting. Besides, it is also a good practice to walk around the booth from the perspective of the attendees, coming from various perspectives and angles, allowing you to identify any blind spots or any elements that can be improved. Any changes you make at that point should be impactful to the overall presentation quality. After that, with a satisfactory check-off from the inspection, your booth is in place for visitors to experience the flow.
End Point
A successful trade show experience begins with an organized event tent setup. Whether it be unpacking all the boxes, organizing production, or adding the last branding details, these tasks all contribute to creating a professional, welcoming area to engage attendees. With preparation and a careful, determined effort, the setup process can be part of the brand experience that is memorable and reinforces company identity.


