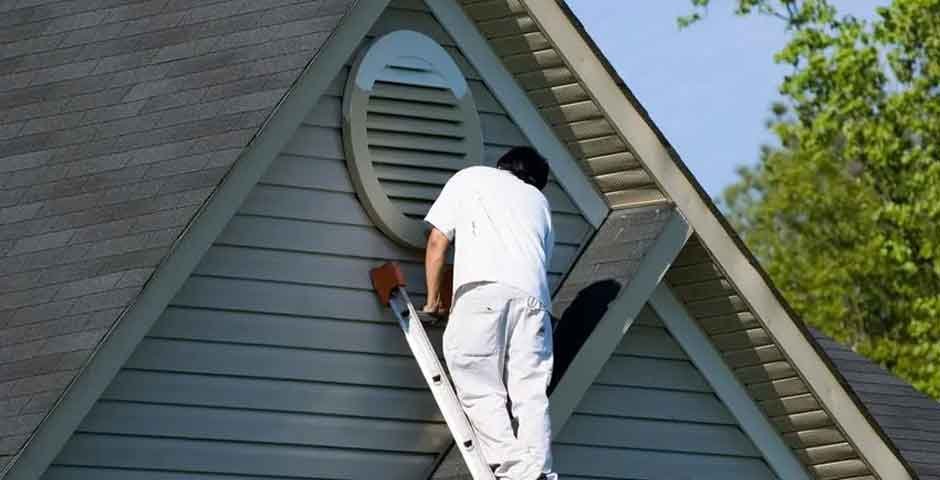
Adding a fresh coat of paint to your walls is a great way to change your home’s mood and look. However, a lot of preparation goes into preparing for a new paint coat. First, you need to decide whether you want to hire a professional painter or explore the DIY route. If you want the job done fast, identify a reputable contractor and hire them for all your painters need in Sarasota, FL.
If you’re opting for the DIY approach, then you need to know all the important steps to take as you prepare your walls for a fresh coat. Below is a guide to improve your painting outcome.
Assess the Walls and Any Problems
A careful inspection of your interior or exterior wall should be the first step before painting advises Vineyard, a Marietta property management. This inspection is aimed at identifying problems with the wall and how to address them. Identify and mark wall areas with holes, dents, cracks, or bumps. You can also research the fixes to these problems and list the needed materials to complete the fix.
Doing this will significantly reduce the stress and hassles you’ll experience during the painting job. It’ll also ensure that you get the right supplies for the job.
Move All Furniture and Hardware
Proceed to move all furniture and remove hardware attached to the walls to be painted. Moving your furniture to another room or the center of the room to be painted gives you enough space to work with. It also reduces the chances of spilling paint on the furniture or soiling them.
Ensure to get plastic wraps to cover the furniture at the center of the room, especially if you plan on doing some ceiling painting too. The plastic bags can collect paint droplets or stains (if any) and protect your furniture.
Clean Surfaces and Repair Your Walls
Exterior and interior walls can often be dirty, especially when they are exposed to dust and debris. For your exterior walls, start by power washing the walls to get rid of mold, mildew, dust, dirt, and grime.
For interior walls, it is best to get a soft swab or microfiber cloth to run across the wall surface. This effectively removes any dust or dirt on the wall surface ahead of the painting process.
With the walls cleaned, proceed to repair all cracks, dents, or holes. For your interior walls, leave nails in place if you intend to use them for hanging wall items after the paint job is completed.
To repair holes and cracks, get a spackling material and mix a thick paste. Cover the affected area with the spackling material, ensure it is appropriately applied, and leave to dry. Be sure to sand down the patched area to improve smoothness and blend.
Remove Outlets and Switch Plates
For interior painting, remove all electrical outlets to avoid staining them. You can cover up the remaining parts with painter’s tape to keep them protected.
If you prefer not to stress over removing electrical outlets, then cover up the outlets with plastic wrap and tape around them. You can always use a small paintbrush to tidy the area around the outlets, switches, and other wall installations at the end of the project.
Apply Painter’s Tape
Both indoor and outdoor spaces can benefit from a painter’s tape. The tape can be used to maintain trims and cut-off areas to prevent spills. You can also use the tape to layer or demarcate your wall into sections, especially if you have multiple paints to apply.
Apply Primer
With your walls perfectly clean and sanded down, you can now proceed to the first major painting task – primer application. Primers are great for exterior walls because they mask deformities and improve paint staying power. In most cases, interior painting jobs may not require a primer, except if you’re planning an entirely new paint color for your space.
If applying the primer, ensure to maintain a simple and consistent motion (top to bottom, left to right) to ensure uniformity.
Partition The Walls in Sections
One of the biggest mistakes you can make is to brave the entire painting task in one fluid motion. You’ll quickly find that the paint’s consistency has worn off and this can affect the quality of the outcome.
A great way to manage your surface is to partition it into sections. Doing this ensures that each end of the section gets an ample and uniform layer of paint applied. It can also help with managing your paint and painting supplies.
Know How to Paint
There’s a right way to paint and there are several wrong ways to approach the task. Learn to paint by watching a couple of tutorial videos to improve the outcome. Alternatively, you could contact a professional painter for help.
It is always important to note that it’s never too late to contact a professional painter, even if you’re mid-way through the job and stuck.